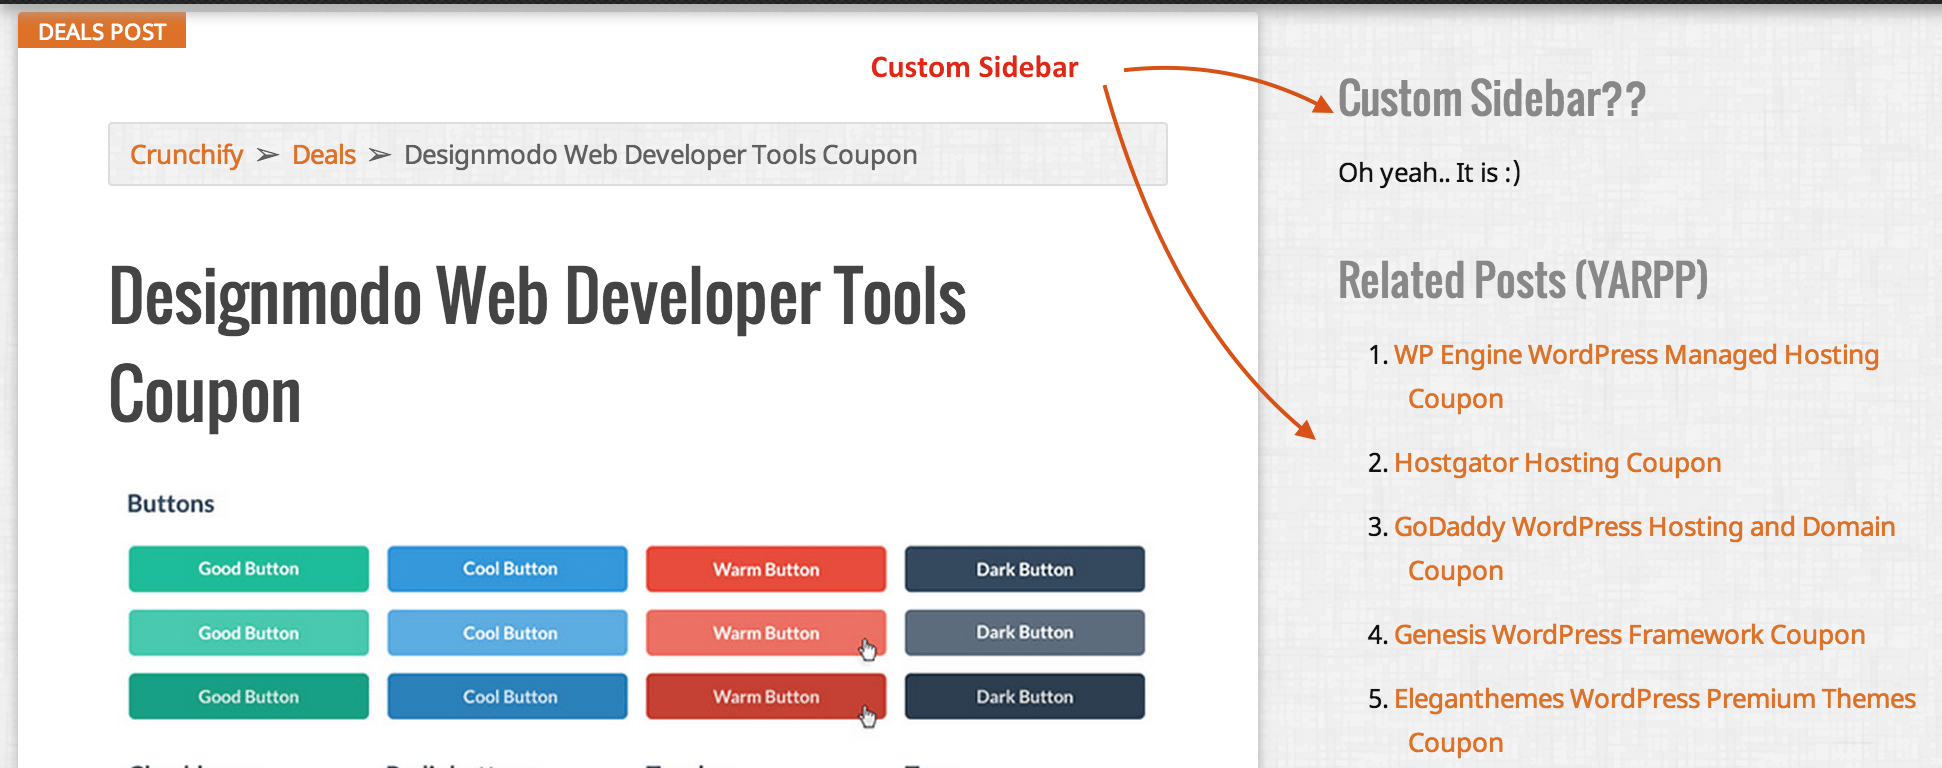
This is a continuous tips and tricks post related to Custom Post Type. We will go over steps which we need to perform in order to have different Sidebar only for Custom Post Type (CPT).
Also this article will help if you have below questions:
- Assign a sidebar to all pages of a particular Custom Post Type
- How to Use a Custom Sidebar on a Custom Post Type
- Set a Sidebar to a Custom Post Type on Genesis Framework
- custom post type sidebar
- how to change sidebar in WordPress
- custom post type sidebar widget
Let’s get started
Step-1
Register new sidebar.
// Register new sidebar with ID ==> deals-sidebar
genesis_register_sidebar( array(
    'id' => 'deals-sidebar',
    'name' => 'SideBar for Deals',
    'description' => 'SideBar for Deals Custom Post Type',
) );
Here id is the one which we need. Keep that unique which we need in next step.
Step-2
Remove default WordPress Genesis Sidebar and add action hook to add new sidebar to CPT deals.
add_action('get_header','crunchify_update_deals_sidebar');
function crunchify_update_deals_sidebar() {
    if ( is_singular('deals')) { // Here "deals" is a slug name for my CPT
        remove_action( 'genesis_sidebar', 'genesis_do_sidebar' ); //remove the default genesis sidebar
        add_action( 'genesis_sidebar', 'crunchify_add_sidebar' ); //add an action hook to call the function for my custom sidebar
    }
}

//Function to output my custom sidebar
function crunchify_add_sidebar() {
    dynamic_sidebar( 'deals-sidebar' ); // id of sidebar which you just registered
}
And you are all set. Check out new sidebar in action now. Once you load Deals page you should see new sidebar only for Deals page.
Before

After

I hope you find this tutorial helpful. Let me know if you face any issue running above WordPress code.
The post How to Add/Change Custom Sidebar for Custom Post Type (CPT) in WordPress appeared first on Crunchify.
0 Commentaires